Enhancing DataCove’s security with IP Access Control
What is IP Access Control and how does it work?
Many organizations are always on the hunt for ways to better secure their networks and systems, with strict allow/deny lists being a frequent means of hardening a device against unauthorized access. Firewalls are extremely common tools for executing this and given the vast repository of sensitive corporate memory that a DataCove contains, it is understandably a highly desirable system to want to secure.
With that said, in the same fashion as how a firewall allows or denies access to systems or networks, the DataCove possesses its own firewall with the capability of limiting access by IP address, a range of IP addresses or a hostname (such as www.example.com). In security and networking parlance, this is known as an Access Control List (ACL) and functions in the same exact fashion as the popular concept of a bouncer at a popular nightclub, only allowing people in “who are on the list.”
DataCove’s Access Control List works across all ports and protocols for the system, entirely locking it down so that anyone who is either not explicitly authorized or explicitly deauthorized will have their traffic silently dropped by the system, preventing any sort of communication with it.
Note: Because the ACL works across all ports and protocols, use of the IP Access Control policy can adversely impact SMTP email delivery as well as SSH access if not properly configured. Be certain to review if DataCove’s SMTP Server is configured for receiving email from Office 365 or Google Workspace environments before embarking on these changes. If any authorized IP addresses are found under DataCove’s Configuration > SMTP Server page, there is a high chance that SMTP is being used for receipt of emails on the system and those IP addresses should be entered in as authorized systems on the ACL.
Three versions of this ACL exist:
Allow communication with the DataCove from any and all addresses and IP ranges. This is DataCove’s default setting and allows all systems to talk with it.
Only allow communication with the DataCove from specified addresses and IP ranges. This is DataCove’s recommended high security mode, known as Whitelisting and will only allow specified systems to talk with it.
Allow communication with the DataCove from all IP addresses except the specified addresses and IP ranges. This is DataCove’s secondary high security mode, known as Blacklisting and allows all systems to talk with it except for specified ranges.
By default, DataCove allows any system to reach it, assuming they are on a network that can and there are no upstream blockades, such as Managed Switch Policies or a Network Firewall preventing access. By configuring the high security mode of Whitelist Only, a great deal of protection can be afforded to the system with relatively little effort. Any IP addresses or IP ranges not explicitly authorized for access are automatically denied in this configuration. This article will primarily be discussing that methodology.
Blacklisting, the secondary high security mode, is used in scenarios where blockades are performed to prevent access from very specific systems or networks and are often used reactively (as in, after they cause trouble or are suspected of being a potential future headache). In general, this is an uncommon use case as the best practices in the security world tend to focus on prevention (via Whitelisting) rather than cure (after-the-fact Blacklisting or high specificity denial).
Note: For clients using DataCove Hosted, wherein Tangent provides the backend hosting of the system on their behalf, it is recommended to provide the list of IP addresses to Whitelist to Tangent and the Support team will upload them, along with various IP ranges for Tangent’s support and monitoring functionality. Implementing a Whitelist without contact Tangent in advance can result in Support’s inability to monitor, optimize and repair the system in the event of a problem.
Configuring IP Access Control
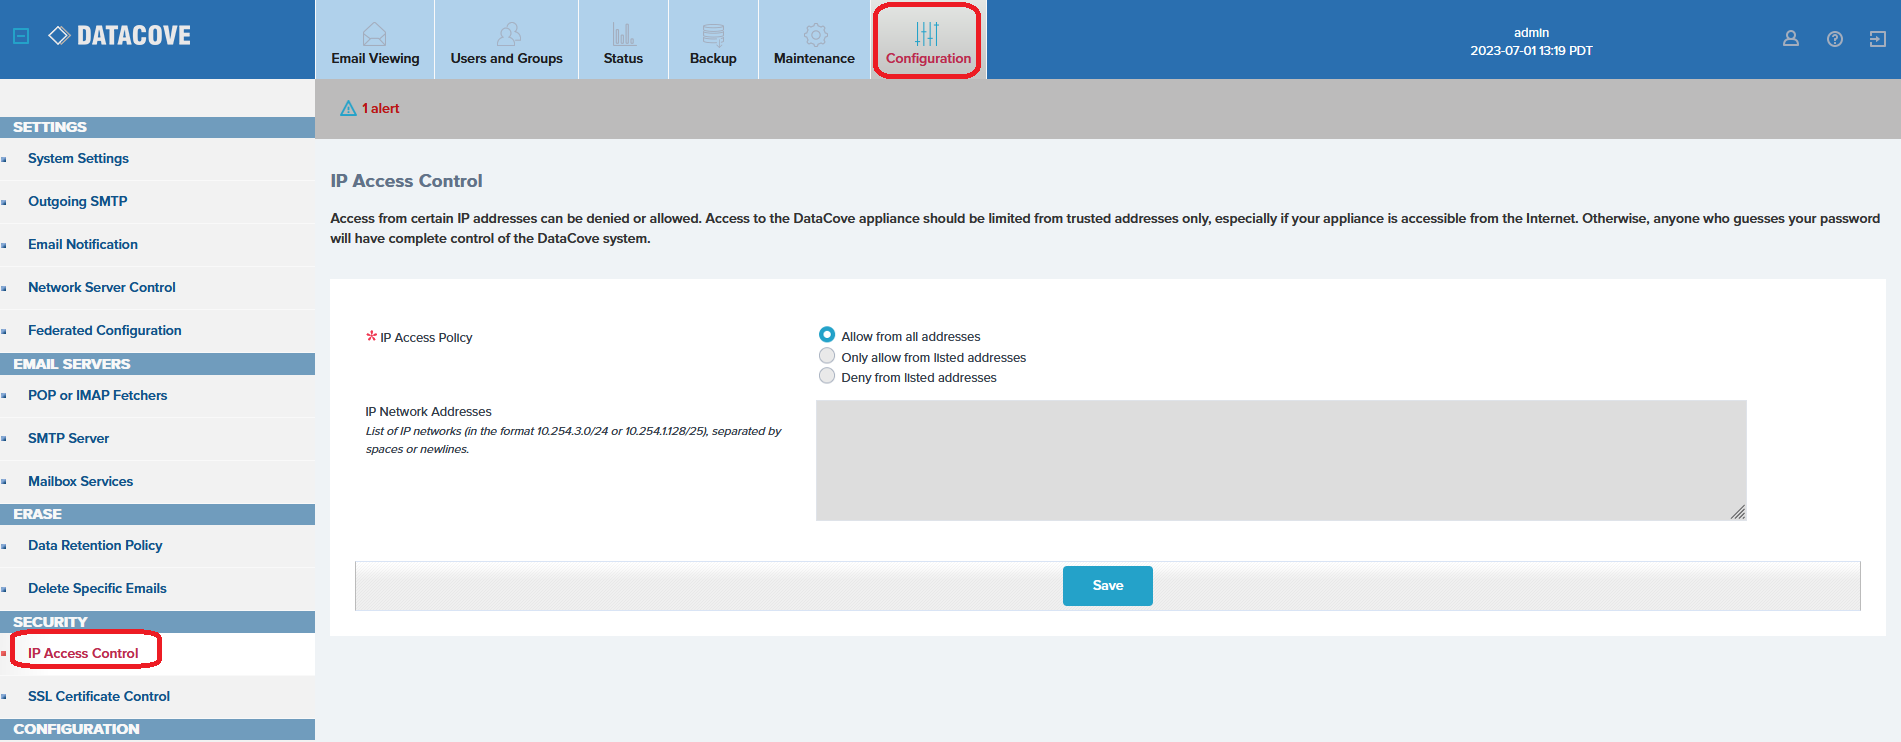
Begin by logging into the DataCove’s web interface and navigating to Configuration in the top header bar, then select IP Access Control on the left hand side menu.
The IP Access Policy will be immediately evident, displaying the default setting of “Allow for all addresses.”
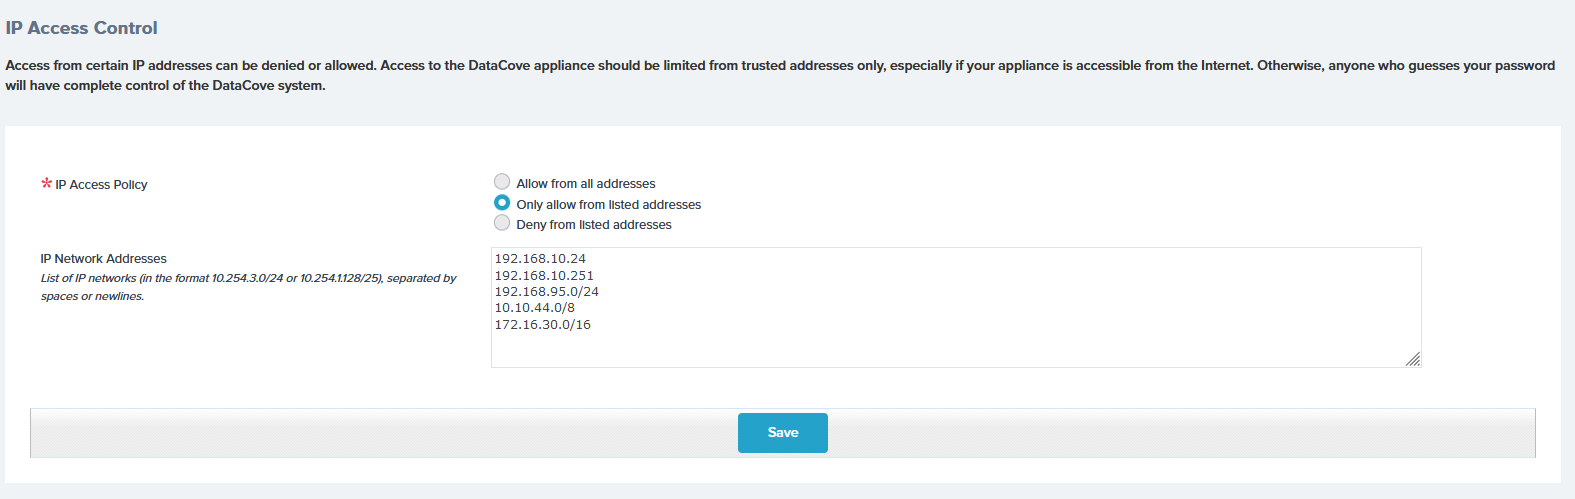
Select the radio button for “Only allow from listed addresses.”
The greyed-out IP Network Addresses box will now become available for data entry.
Enter in the IP addresses of the systems that are intended to be allowed to communicate with the DataCove in this field, separated by either a space or a newline (pressing ‘Enter’ on the keyboard will move the cursor to a ‘new line’). Individual IP addresses can be entered here, as well as entire IP address ranges by specifying them in Classless Inter-Domain Routing (CIDR) notation. For DataCove’s that are hosted by Tangent, be sure to enter in the gateway IP addresses of the organization. These are the IPs that the ISP provides that all communication routing out from your organization will use.
Be absolutely certain to enter in the IP address of the workstation (if it is not part of an IP Range being specified already) being used to enter in these IP addresses, or upon saving the policy, that workstation will be immediately locked out.
Note: For clients using SMTP Direct email delivery from Office 365 or Google Workspace, be certain to add in their respective IP address ranges to allow continued receipt of their emails. Not doing so will block journaled emails from coming in via SMTP and will lead to a compliance gap.
Note: Using the “Deny from listed addresses” Blacklisting function operates in the same way of entering in IP addresses, but with the idea that any addresses specified here will instead be denied instead of allowed.
Click Save once all desired IP addresses have been entered.
Once the Save button has been pressed, the policy immediately takes effect and will terminate any existing connections that were not cleared for access, as well as prevent any future connections from unauthorized systems.
Resetting the IP Access Control List in the event of a lockout
In the event of a lockout situation, where network access to the system has been made impossible to reconfigure or change from the web interface, the ACL can be reverted back to the default of “allow access from all addresses” with physical access to the system.
To do so, connect a keyboard and monitor to the DataCove machine (for a virtual machine, access it from the hypervisor console, which does not count as a network connection to it and is thusly unimpeded) and log in at the prompt. The default login is “cliadmin” with a password of “ChangeMe” although this may have been changed to a password compliant with your organization’s security policies.
Note: If this type of reset needs to be performed for a Hosted DataCove, please contact DataCove Support.

Once logged in, select Option 7 from the console menu for Security Reset Options and press Enter.
Of the two reset options provided, select Option I, then press Enter.
This will now discard any entries in the IP Access Policy tables and revert the system to All Addresses Allowed, once again providing access to the system over the network and allowing room for corrections to be made in the policy, if needed.

This concludes the IP Access Control article.